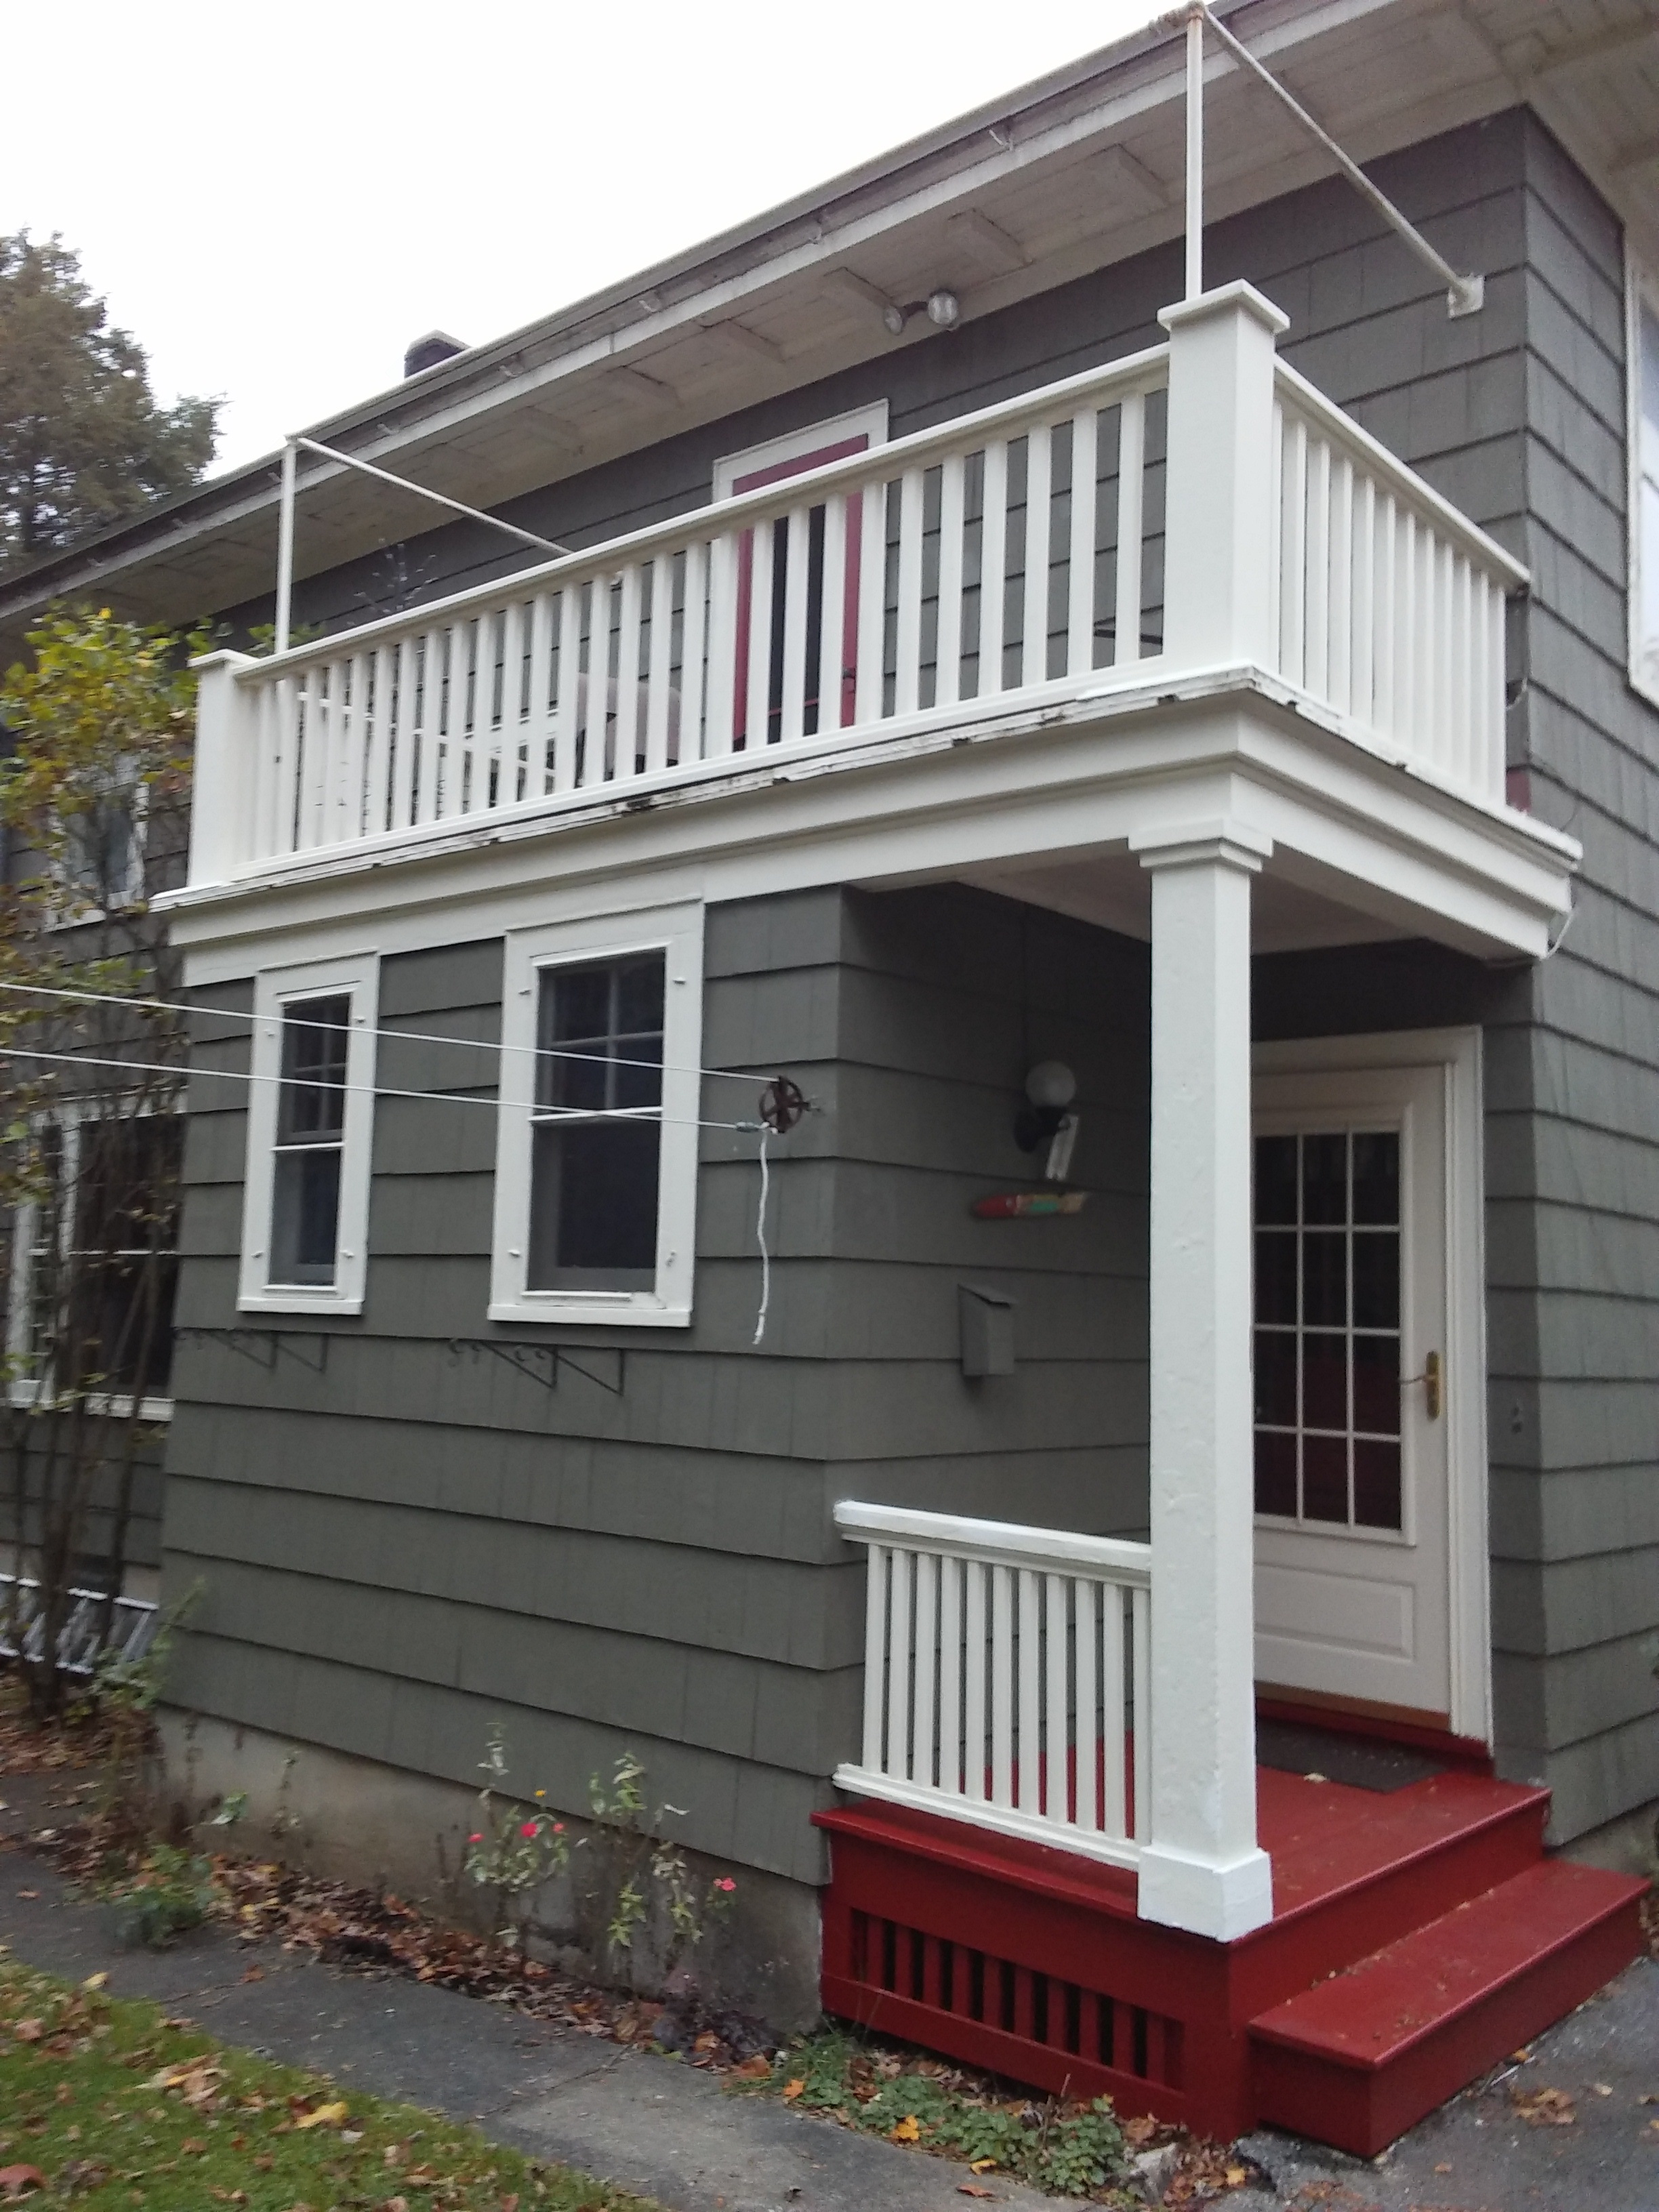
My recently painted back porch.
My wife Suzy and I had our front and back porches rebuilt this year…after the monsoons of spring and early summer here in the Northeast. Some parts of the porches were rotting out and another got hit by one of the kids’ friends’ years ago and knocked askew.
So our carpenter used “treated lumber” to replace the old stuff. No big deal he said. The new treated lumber lasts longer and looks better. OK, that sounds great.
That is, until it came time to paint. I volunteered for the job, figuring Suzy and I would save some money. Especially since we were also anticipating the expense of getting our roof replaced.
So I asked our local paint doctor at Jay-K Lumber, Sam, for some paint. I’m thinking just a little primer and finish coat. And easy wash-up with latex paint. No big deal, I'll knock this project off quick. One or two weekends tops.
But Dr. Sam popped that dreamy bubble. As it turns out, our carpenter never told us, but painting “treated” wood takes lots of prep.
Here’s how it went…
First, all of the treated boards had to be sanded. Otherwise, they would look rough after painting. So I took an electric sander to everything, including all the spindles on the upper porch. It took a while.
Then, because it was treated, I had to prime it all with oil based primer, not latex. So instead of cleaning up with soap and water, I had to dump turpentine over the brush…and me.
Next fill all the nail holes with putty. I forgot about them and at first didn’t notice too many. But there must have been a sale on nails because after priming the whole thing I noticed they were everywhere.
After filling all the nail holes, THEY had to be sanded down. Fill, fill, fill, sand, sand, sand. It seemed never ending. So after all that sanding, I had to prime all the freaking filled in nail holes again!
Finally it was time to paint. However, our paint doctor, Sam, told us that treated wood demanded stain, not paint. I’d never used stain before and worried it might be too thin. Well today’s stain is thick and goes on like paint. So no problem there. But wasted time worrying.
The upshot is that I finished it ok, but on more weekends than I care to consider. If you’re counting, that job took sanding every new board, priming it all, filling in a zillion nail holes, sanding those, priming the nail holes, then, finally, staining the whole thing with the finished coat. Two coats of finished paint for the red front.
Now, if I do say so myself, it looks great! We’ve added thousands of dollars to the value of our home. And Dr. Sam says the stain will last a lot longer than regular paint.
What in Heck Does This Have To Do With Content Creation?
Preparing to paint treated wood is a lot of work. Our carpenter didn’t tell us about that.
Preparing to market with content takes a lot of thought. Your web designer may not tell you about that.
Preparation for painting with sanding, priming, and puttying leads to a beautiful, long lasting, value added finish.
Preparation for content creation with a content marketing strategy plan leads to valuable market share as people get to know, like, and trust your brand.
I can help with your content prep…click here to find out more.
(You're on your own with your porch!)
Until next time,
Nick
PS. Next post we’ll start a conversation about planning your social media marketing.
Find out more about me and my content writing services here. Subscribe to my email for tips, strategies, and online writing secrets. Also, if you Like my Facebook page, you’ll get content marketing ideas from experts all over the internet.